
Pool Remodeling / Resurfacing Timeline
How Long Does Pool Resurfacing Take in Florida?
From draining to refilling in about 5 to 10 working days, plus the finish-specific startup that follows. Here is the realistic schedule.
A straightforward residential pool resurfacing project in Florida commonly takes approximately 5 to 10 working days from draining the pool to beginning the refill.
You should generally plan for:
- One to two calendar weeks for draining, preparation, repairs and finish installation
- Approximately 18 to 36 hours to fill a typical pool, depending on its volume and water source
- A finish-specific startup period, commonly extending through the first 28 days after filling
- Additional time for tile, coping, structural repairs, deck work, equipment changes, permits or weather delays
The pool may not have to remain unused for the entire 28-day startup period. Swimming eligibility depends on the installed finish, the manufacturer's instructions, water balance, sanitation and whether plaster dust or loose material remains. Always follow the written instructions provided by the finish manufacturer and installer.
Pool resurfacing timeline at a glance
| Project stage | Typical working time |
|---|---|
| Site protection and pool draining | Several hours to one day |
| Removing or preparing the old surface | One to three days |
| Crack, rust or substrate repairs | One day to several weeks, depending on damage |
| Bond coat and preparation | Approximately one day |
| Tile or coping work | Several days or longer when included |
| Applying the new interior finish | Commonly one day |
| Finish exposure or cleanup | Finish-specific |
| Refilling the pool | Commonly 18 to 36 hours |
| Initial water balancing and startup | Begins immediately after filling |
| Full plaster startup and early curing | Approximately 28 days |
| Salt or heater activation | Based on manufacturer instructions |
This is a planning guide, not a guaranteed schedule. The contractor should provide a project-specific timeline after the pool is drained and inspected.
Active construction time vs full startup time
Pool owners often receive conflicting answers because contractors may be describing different stages.
Active construction time
- Draining the pool
- Removing or preparing the old finish
- Repairing defects
- Installing tile
- Applying the bond coat and new surface
- Cleaning and beginning the refill
Refill and early curing
- Filling per the installer's instructions
- Starting circulation at the correct level
- Careful water-chemistry management
- Frequent brushing and testing
- Filter cleaning and surface observation
- Continues after the pool is full
For a resurfacing-only project without major repairs, active construction commonly takes about five to ten working days. The National Plasterers Council startup procedure describes a 28-day care process for a new plaster finish and states that the pool should not be used until it is full and the water is properly balanced and sanitized. The startup period should not be confused with active construction.
A typical Florida pool resurfacing schedule
Before draining, the contractor should evaluate the existing finish, cracking, staining, hollow or delaminated areas, tile and coping, skimmer, main drains and returns, lights, equipment, water loss, deck condition, site access, drainage location and groundwater conditions. The homeowner also selects the finish type and color, tile, coping, waterline details, steps or benches, and any lighting or equipment upgrades. Special-order tile and finishes should be confirmed before draining the pool.
Day 1: Protect the site and drain the pool
Crews protect deck, landscape and access areas before lowering the water. Draining depends on pool volume, pump capacity, approved discharge location, elevation and groundwater; high groundwater can create upward pressure on an empty shell, so the pool should not sit empty longer than necessary.
Days 1 to 3: Prepare or remove the existing finish
Preparation may include chipping around fittings, removing loose or hollow material, grinding, abrasive or hydro blasting, cleaning and roughening the substrate. A new finish should not simply cover unstable or delaminated material.
Days 2 to 5: Inspect and repair the shell
Draining exposes delamination, structural cracks, rust stains, exposed steel, failed patches, leaks and damaged fittings. Minor repairs may add a day; structural cracking or steel corrosion can extend the project significantly.
Days 3 to 6: Tile, coping or detail work
Waterline tile and coping are generally coordinated before the interior finish. Full tile replacement, raised spas, curved walls, glass tile or coping replacement can take longer.
Days 4 to 7: Apply the bonding system
Some systems require a bond coat between the prepared substrate and new finish. The surface must be sound, profiled, clean and prepared per the finish system.
Days 5 to 8: Apply the new finish
The finish is often completed in one coordinated application, maintaining consistent batches, correct water content, even texture and clean fittings. Do not judge the final water color while the pool is empty.
Finish exposure and cleanup
Pebble and aggregate finishes may require controlled exposure or washing to reveal the aggregate. This step is finish-specific and should be completed by trained applicators, then the pool moves to filling.
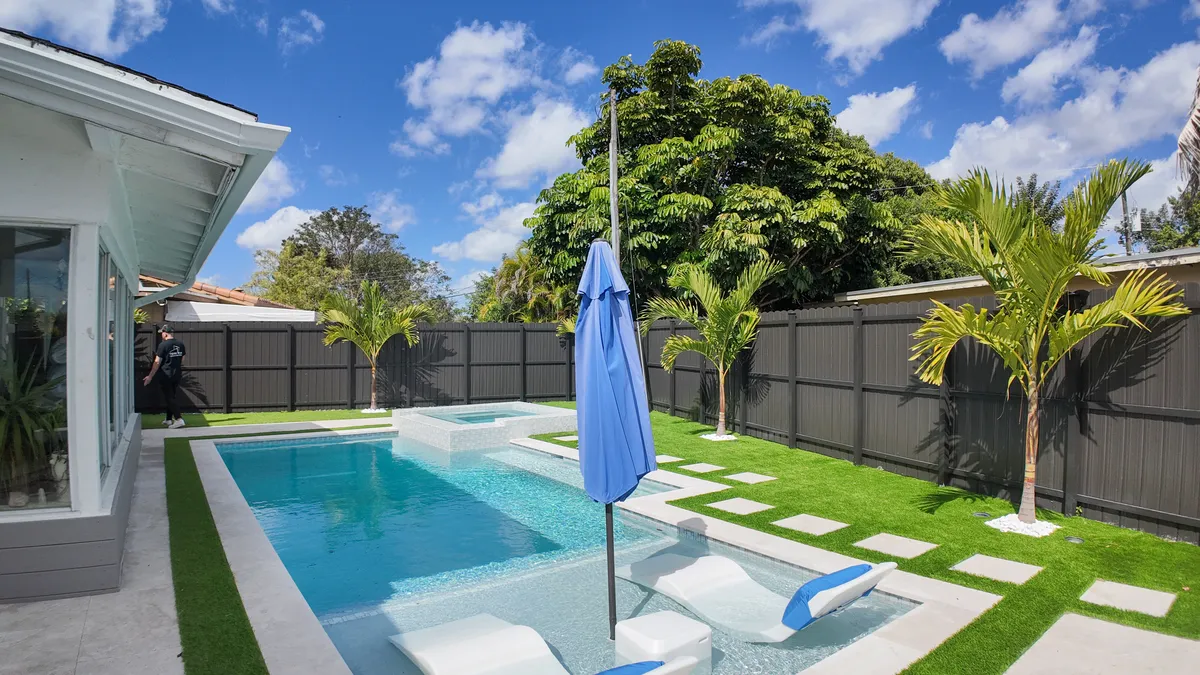
Refill: approximately 18 to 36 hours
The National Plasterers Council startup guidance states that filling can commonly take between 18 and 36 hours. Once filling begins, it generally should continue without interruption until the water reaches the specified operating level; stopping partway can leave a visible line on a new finish.
Startup guidance also recommends:
- Using clean, potable fill water and testing the source water
- Placing the hose in the deepest area and protecting the finish from the hose end
- Preventing people and pets from entering
- Avoiding external water sources
- Starting circulation when the pool reaches its proper level
Actual fill time depends on pool volume, water pressure, number of hoses and whether a permitted water-delivery service is used.
What happens during the first 28 days?
A new plaster or aggregate finish requires controlled water chemistry while the cementitious material hydrates and cures. Early startup can involve testing fill water, adjusting alkalinity and pH, monitoring calcium hardness, brushing the walls and floor, removing plaster dust, operating filtration continuously during the initial period, delaying certain chemical additions, cleaning the filter and documenting water-test results. The NPT/NPC procedure recommends brushing twice daily during the early startup and describes chemistry management through day 28. Follow the finish manufacturer's warranty and maintenance requirements when they differ or provide additional instructions.
Does the pool need to cure empty?
A new plaster or aggregate finish is typically filled promptly according to the installer's instructions. The important curing and hydration process continues while the finish is submerged, and allowing a fresh finish to dry out before it is covered with water can damage its appearance or performance.
Confirm when filling will begin, who monitors the fill, who stops the water, when circulation starts, who performs the startup, when swimming is permitted, when the heater can operate and when salt can be added.
When can you swim after pool resurfacing?
Do not use a universal number of days. For plaster and aggregate finishes, swimmers should generally wait until the pool is completely full, circulation is operating, water is properly balanced and sanitized, the installer authorizes use, no loose plaster dust remains, and visibility and water quality are safe. PebbleTec states that swimmers and pets should not enter until the pool is full and balanced, and refers owners to the National Plasterers Council recommendation that water be properly balanced, sanitized and free of loose plaster dust before swimming. A 28-day startup does not automatically mean swimming is prohibited for all 28 days.
When can you turn on the heater or add salt?
Pool heater
- Restrictions depend on the finish manufacturer
- PebbleTec recommends waiting at least 14 days before heating
- Sudden heating of an uncured finish can affect appearance
- Do not activate a heater, heat pump or solar system until the installer confirms the finish is ready
Adding salt
- Saltwater pools require special startup planning
- PebbleTec recommends waiting at least 28 days before adding salt
- Waiting longer may be beneficial in some circumstances
- Undissolved salt on a new finish can cause staining or scaling
- Use an approved temporary sanitation method until activation
How the finish type affects the timeline
Traditional plaster installs quickly but requires careful filling, brushing and water balance during startup. Quartz finishes are cementitious and generally follow a plaster-style startup. Pebble finishes require specialized application and aggregate exposure, and the early curing period can include some normal release of small pebbles or glass beads; PebbleTec recommends allowing approximately 28 days before judging final water and finish color. Polished aggregate can require additional labor to produce the intended texture, and glass-bead blends depend on careful batch consistency and exposure. Fiberglass or coating systems use different preparation and curing methods from cementitious plaster, so do not apply a plaster startup schedule to an unrelated coating system.
Factors that can delay pool resurfacing
- Structural cracks may require engineered or specialized repair before they are covered.
- Rust and exposed steel can indicate moisture reaching reinforcing steel and may need to be opened, cleaned and repaired.
- Hollow or delaminated material increases removal and preparation time.
- Leaks from the shell, skimmer, returns, main drains, light niches or plumbing should be diagnosed and repaired before the new finish.
- Tile and coping replacement can turn a one-week project into a multi-week renovation.
- Equipment upgrades to pumps, filters, heaters, automation or lighting may require separate materials, trades and permits.
- Deck remodeling such as demolition, drainage, pavers or coatings can substantially extend the project.
- Pool size and shape, including spas, beach entries, raised walls and complex curves, require more labor.
- Limited access from narrow gates or long material paths reduces crew productivity.
- Florida rain can interfere with preparation, bond coat, finish application, exposure and deck work.
- Temperature and humidity outside approved application conditions can affect scheduling and workmanship.
- Permit or inspection holds can create required stopping points before work is covered.
- Material availability of custom tile, specialty aggregates or fittings can delay a start.
Does pool resurfacing require a permit in Miami?
Requirements depend on the municipality and complete scope. Miami-Dade County currently lists pool resurfacing that does not affect electrical connections among certain permit exemptions for eligible properties in unincorporated areas. The exemption does not automatically cover electrical repairs, pool-light work, structural alterations, plumbing relocation, deck expansion, barrier changes, new equipment requiring permits, pool-shape changes or spa additions. The County specifically states that repair or replacement of electrical equipment on existing pools requires an electrical permit. Properties in incorporated municipalities, including the City of Miami, Miami Beach, Aventura and North Miami Beach, are subject to their respective building departments.
How to prevent unnecessary delays
- Complete the inspection before scheduling and document suspected cracks, leaks, rust, hollow areas and equipment problems.
- Select materials early and confirm finish color, tile, fittings and specialty products before draining.
- Define the scope, including whether the project covers resurfacing only, tile, coping, deck, lights, plumbing, equipment, spa or water features.
- Confirm permit requirements and identify the correct jurisdiction.
- Verify that the water source can remain on continuously during filling.
- Plan around the weather and monitor conditions during critical application stages.
- Assign startup responsibility in the contract for the first 28 days.
- Avoid changing tile, finish or equipment after construction begins.
Questions to ask the pool resurfacing contractor
- What preparation method will you use?
- How much of the old surface will be removed?
- What happens if structural cracks are discovered?
- Is crack repair included?
- Is tile or coping included?
- Which finish manufacturer and product will be installed?
- Are you an approved installer for that finish?
- What weather conditions are required?
- How long will the pool remain empty?
- Who monitors the refill?
- Who performs the startup?
- How frequently will the water be tested?
- When can we swim?
- When can the heater operate?
- When can salt be added?
- Are permits required?
- Are water, startup chemicals and cleanup included?
- What can change the price or schedule?
- What workmanship and manufacturer warranties apply?
- Who registers the finish warranty?
Pool resurfacing timeline checklist
Before draining, confirm:
- Written scope
- Selected finish and color
- Tile and coping selections
- Required permits
- Material availability
- Contractor schedule and weather window
- Approved drainage method
- Water source and fill-water test
- Equipment condition and repair allowances
- Startup responsibility and written startup instructions
- Swimming authorization criteria
- Heater activation and salt-addition dates
- Warranty registration
Frequently asked questions
How many days does it take to resurface a pool in Florida?
A straightforward resurfacing project commonly takes approximately five to ten working days from draining to starting the refill. Repairs, tile, coping, weather and permits can extend the schedule.
How long does pool plaster take to cure?
Cementitious pool finishes continue curing after filling. A structured startup commonly covers the first 28 days, but ongoing curing can continue beyond that period.
Do I have to wait 28 days to swim?
Not necessarily. Swimming depends on the finish instructions, completed filling, balanced and sanitized water, and the absence of loose plaster dust. Obtain written authorization from the installer.
How long does it take to fill a resurfaced pool?
National Plasterers Council startup guidance states filling can commonly take approximately 18 to 36 hours. Pool size and water flow determine the actual time.
Can I stop filling the pool overnight?
Filling generally should continue without interruption to avoid leaving a visible waterline on the new finish.
Can rain damage a new pool finish?
Rain can affect some application and exposure stages. The contractor should protect the project and schedule finish work during acceptable conditions.
How long does pebble pool resurfacing take?
The construction phase is often similar to other cementitious finishes, but pebble application and exposure require specialized steps. Allow additional time for finish-specific startup and early curing.
Should cracks be repaired before resurfacing?
Yes. The contractor should determine whether cracks are superficial, leaking or structural before applying the new finish.
Can resurfacing fix a leaking pool?
Only when the leak is caused by a condition addressed by the resurfacing scope. Plumbing, skimmer, fitting or structural leaks need separate diagnosis and repair.
Can pool lights or tile be replaced at the same time?
Yes. Electrical work may require a licensed contractor and permit, and combining waterline tile with resurfacing adds labor and calendar time.
When can I use my pool heater or add salt after resurfacing?
Follow the manufacturer. PebbleTec currently recommends waiting at least 14 days before heating and at least 28 days before adding salt.
Can the pool stay empty while I wait for another contractor?
It should not remain empty longer than necessary. Groundwater, weather and finish conditions can create risks, so coordinate all trades before draining.
Schedule pool resurfacing in South Florida
A dependable schedule includes more than the day the finish is applied. MIA Remodeling Contractors helps South Florida homeowners plan pool resurfacing and broader pool-remodeling projects involving finishes, tile, coping, decking, lighting and outdoor improvements, coordinating design, permits when required, qualified trades and construction management.
Florida general-contractor license CGC1535875. Serving Miami-Dade, Broward and Palm Beach counties.